
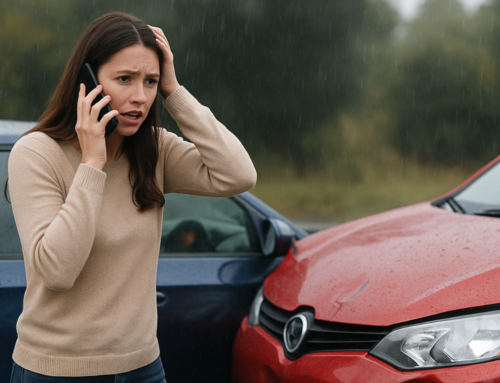
You’re pulling out of Broadway Plaza or merging onto I-680 when—tap. It’s minor, but your heart’s racing. Here’s a scannable, step-by-step guide for Walnut Creek drivers that blends quick wins, pro tips, and what your insurer (and repair shop) actually need.
At-a-glance: your 5-step plan
- Make it safe → hazards on, move off roadway.
- Document fast → photos, notes, a pinned location.
- Exchange info → people, plates, insurance.
- Start your claim → and choose your shop (it’s your right).
- Book an estimate → get a clear plan from a local pro.
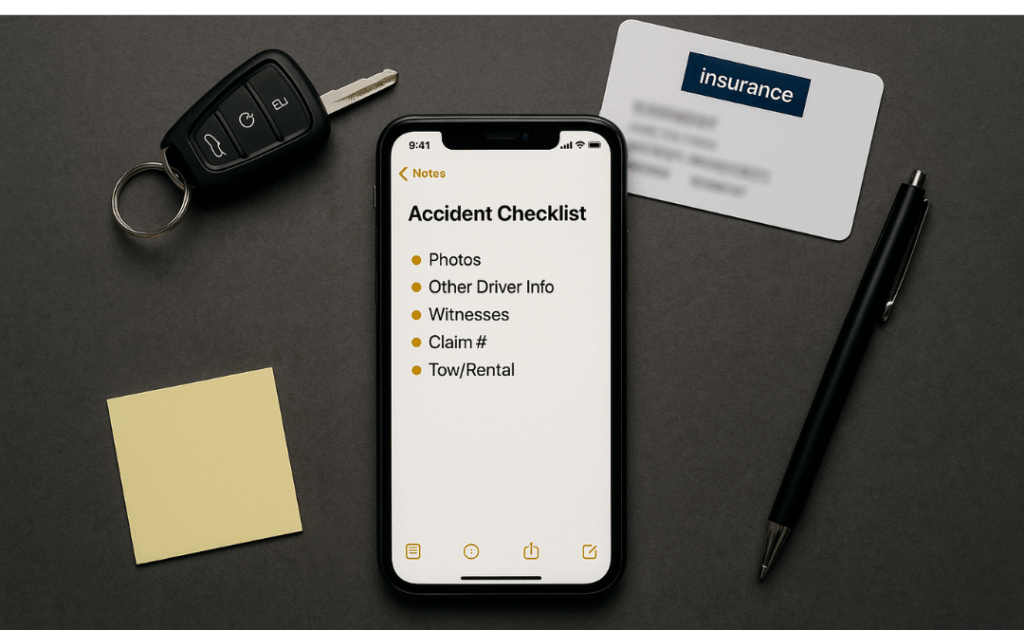
Add “Accident Checklist” to your Notes app with: Photos, Other Driver Info, Witnesses, Claim #, Tow/Rental.
For a national post-crash primer, see DOT’s Post-Crash Care overview.
Before you dive in
You’ve got the overview. Now use it in order — only after the scene is safe. If anyone might be hurt, call 911 first. If things are calm and drivable, keep this page open, screenshot the checklist, and move through the steps at your pace. The goal is simple: protect people, capture proof, and make one confident decision at a time. For a neutral national checklist, NHTSA also has guidance on what to do after a crash.
1) Make the scene safe
- Check for injuries and call 911 if anyone’s hurt or you’re unsure.
- Move cars out of travel lanes if drivable; turn on hazards.
- CHP recommends moving to the shoulder or off the roadway after minor, no-injury collisions when cars are operable.
- Stay neutral. Skip apologies/blame—just the facts.
When to stop where you are
If a vehicle isn’t drivable, if there’s fluid leaking, or if airbags deployed, stay put, turn on hazards, and call 911.
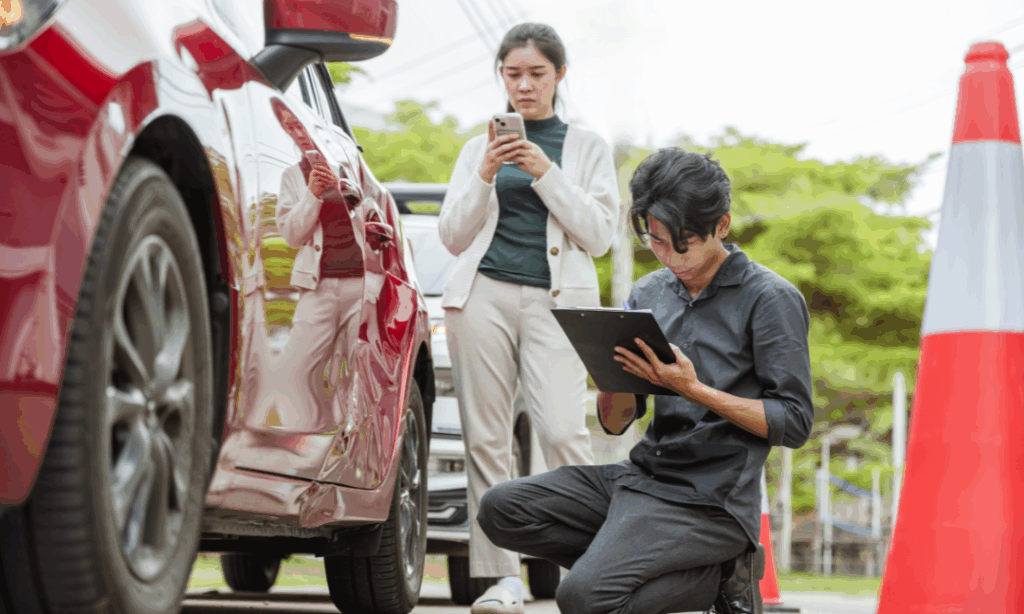
2) Document everything (your phone = your best tool)
Shoot these photos (wide → close):
- The entire scene (lanes, signals, signage).
- Both vehicles from all corners.
- Close-ups of damage: bumper, fender, head/taillights, trunk gaps.
- Dash cluster if warning lights are on.
- Plates and the visible VIN (driver-side windshield corner).
Note these details:
- Date/time, weather, and pinned map location.
- Other driver’s name, phone, insurer, policy #, license, and registration.
- Any witness names/contact.
Pro tip: Record a 15-second video walking around both cars. It captures angles photos miss and helps the adjuster and the shop blueprint the repair.
3) Exchange information (and what not to say)
Trade: licenses, insurance cards, registration, best phone/email.
Avoid: “It’s my fault,” repair cost guesses, or side deals.
If the other driver refuses:
Snap the plate, note time/location, and call the non-emergency line. For parking-lot bumps to a parked car, leave a note with contact info and take photos before moving.
Myth vs. Fact
Myth: “My insurer tells me which shop to use.”
Fact: In California, you choose the body shop. Many policies list “preferred” shops, but the decision is yours.
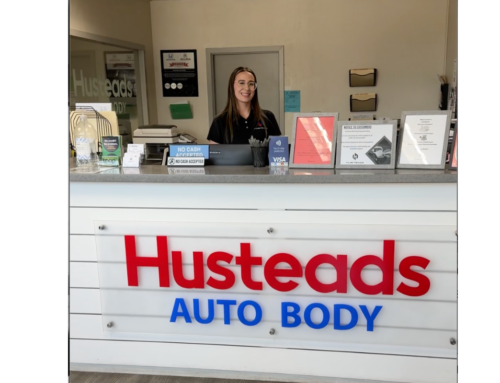
4) Start your claim—and pick a local shop you trust
When you call or file in-app, say:
“I’m safe, I have photos, and I’ll be using an auto body shop in Walnut Creek. Please note that on the claim.”
Why choosing early helps:
- Your shop can guide photos, tow/rental, and next steps.
- They’ll talk directly with the adjuster, so you don’t have to.
Quick chooser checklist (Walnut Creek edition):
- Follows OEM repair procedures and uses proper parts/materials.
- Performs pre/post scans and coordinates ADAS calibrations.
- Capable with aluminum & structural repairs.
- Computerized color match and controlled spray environment.
- Transparent estimate, clear timeline, and updates by text/email.
- Insurance coordination + lifetime workmanship warranty.
Want to understand why training matters? Read what I-CAR Gold Class signifies for safe, complete repairs.
Red flags: vague estimates, “we’ll just buff it,” or no willingness to explain repair steps.
5) From estimate to repair day (what to expect)
Estimate/Blueprint
- For light taps: visual estimate may be enough.
- For hidden damage: brief blueprint (strategic disassembly) confirms brackets, absorbers, sensors, and clips behind the bumper.
Parts & Scheduling
- Your advisor orders parts; you’ll get a target start date.
- Ask about rental or rideshare credits and update cadence (e.g., texts every 48–72 hours).
Repair & Refinish
- Structural/repair work → primer → color blend → clearcoat.
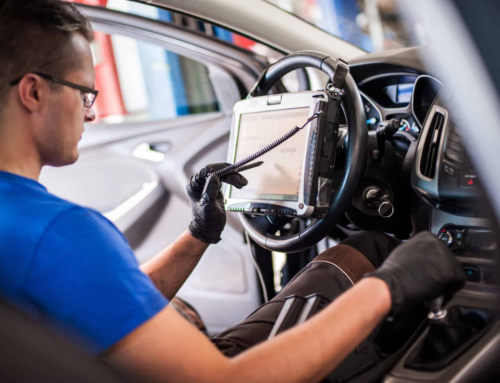
- Post-repair scan verifies sensors, airbags, and driver-assist systems. (See NHTSA’s evolving safety-tech landscape for context.)
- Final quality control and wash for delivery.
Call-out: When to skip DIY
If a bumper is loose, sensors act weird, or a light is cracked—don’t drive it. Misaligned safety systems can put you (and your claim) at risk.
6) Pick-up checklist (5 quick checks before you drive off)
- Color/finish: panel color and texture match nearby panels; blends are invisible in daylight.
- Gaps/lines: doors, trunk, and bumper gaps are even; everything opens/closes smoothly.
- Lighting/Sensors: no warning lights; parking sensors and assist features behave normally.
- Road feel: no new vibration, pulling, or wind noise.
- Paperwork: keep your final invoice and warranty with your claim docs.
Pro tip: If anything feels “off,” say so on the spot. A good shop wants to make it perfect.
FAQs Walnut Creek drivers ask after a fender-bender
Do I need a police report for a minor parking-lot tap?
Not always. If there are injuries, a hit-and-run, or significant damage, report it; otherwise, thorough photos + info exchange usually suffice for insurance. For legal/reporting thresholds, see DMV guidance and California Vehicle Code references.
How long does bumper repair take?
Simple refinish: often a few days. Add parts backorder, sensor calibration, or hidden bracket damage, and it can stretch. Your shop should give a range and text updates.
Can I drive with a cracked bumper?
It’s risky. Cracked covers can loosen, LED modules can take on water, and ADAS behind the bumper (radar/ultrasonic) may misread. Get it checked promptly. See DOT’s post-crash safety perspective.
The “why now” reality check
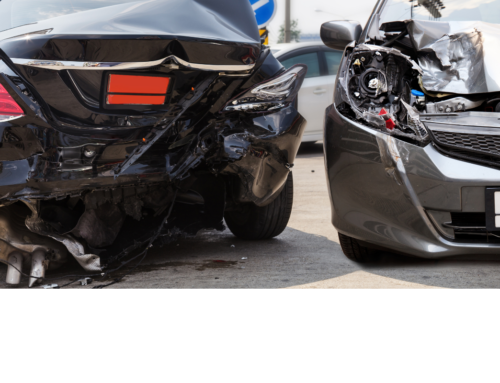
Even “low-speed” hits can tweak reinforcement bars, crack hidden brackets, or nudge ADAS sensors. Addressing it now protects your safety, prevents moisture/corrosion in seams, and avoids a small repair becoming a big one. Fast documentation + a professional inspection are your best money-savers.
Need a hand from a local pro?
If you’re comparing collision repair in Walnut Creek—from bumper repair to paintless dent repair—choose a shop that pairs clear communication with OEM-level procedures and a lifetime warranty. Book a quick estimate, bring your photos and (if started) your claim number, and get a simple, step-by-step plan back to “all set.”
Get an Estimate in Walnut Creek — same-day photo review, help with your claim, and text updates you don’t have to chase.